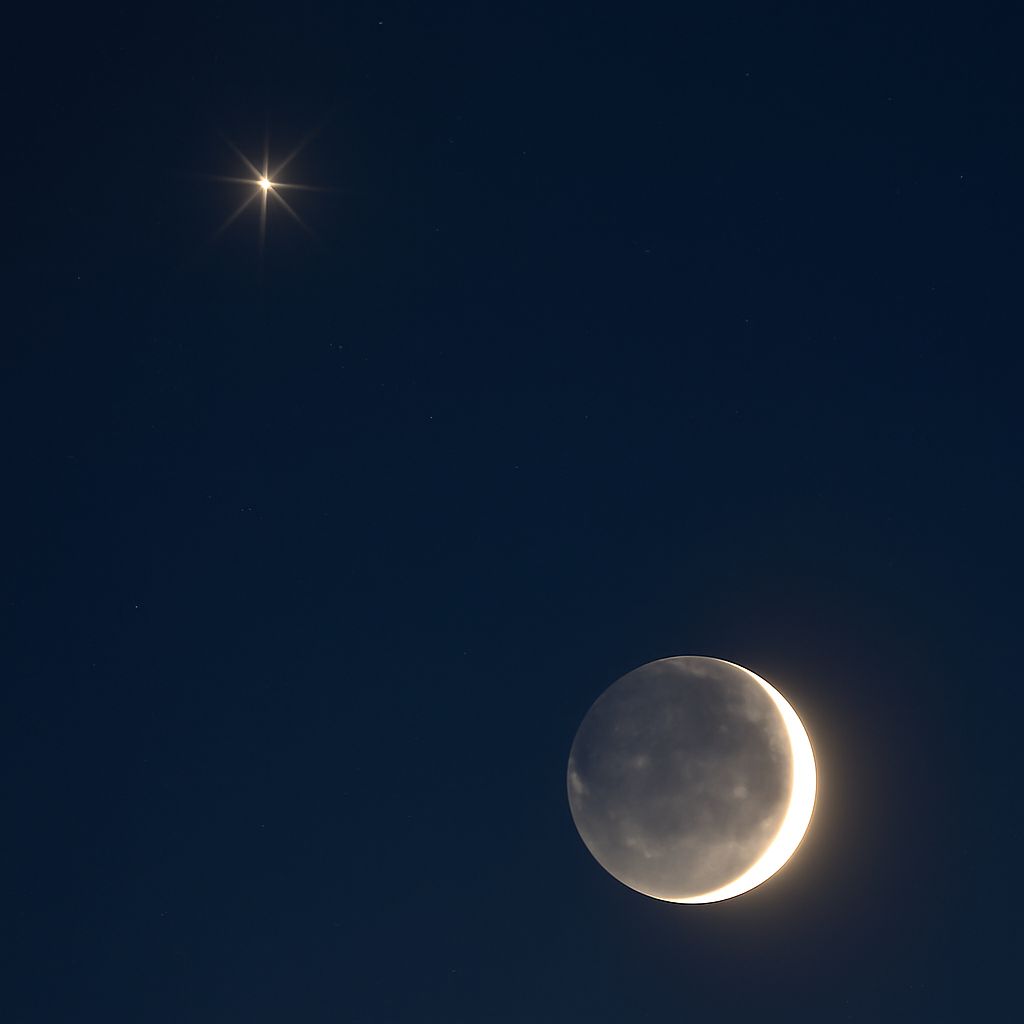
The right exposure depends on what the photograph needs to show: the Moon’s sunlit surface, or the much darker landscape around it. Learning how to take a photograph of the Moon starts with that choice. A close view calls for settings that preserve the markings on its bright face; a scene with trees or rooftops may need twilight, a silhouette, or more than one exposure.
Choose a phase and a time
The full Moon is easy to find, but its face is lit almost directly from the camera’s direction. Shadows are short, so the surface can look relatively flat. Around the first or last quarter, sunlight falls across the boundary between lunar day and night. Craters near that boundary cast longer shadows and give the surface more visible relief. A crescent offers a delicate outline and more dark sky around it.
Check a local moonrise and moonset calendar before setting out. The Moon rises and sets at different times as its phase changes, so a convenient evening view is not available every night. Clouds matter, but so does the air between camera and subject. When the Moon is low, its light passes through more atmosphere; haze and unsteady air can soften fine detail. For clearer lunar pictures, wait until it is higher.
For those deciding how to photograph the moon with a landscape, the low position can be worth the softer air. Twilight helps because the sky and foreground retain some light while the lunar disk remains visible. Scout a location with an open view of the horizon, then arrive early enough to set up and find the composition.
Photograph the Moon with a sense of place
When planning how to take pictures of the Moon, decide whether the Moon is the subject or a small element in a wider view. A long telephoto lens makes its disk larger in the frame, revealing more surface detail. A wide lens includes the surroundings but renders the Moon small. On a full-frame camera, a 200 mm lens gives a noticeably larger disk than a 50 mm lens; 400 mm or longer is helpful for a closer view. A crop-sensor camera gives a narrower field of view with the same focal length.
A distant ridge, church tower, or line of trees can give the Moon scale. Move farther from the foreground subject and use a longer lens to frame both more tightly. The Moon does not grow because of the lens: the narrower view changes how much of the scene fits in the image. Leave room around the disk and watch for branches or wires crossing it unless they are part of the intended design.
NASA’s lunar photography guide recommends including a reference in the landscape as one way to give a lunar photograph context. A tower under a pale twilight sky can tell a different story from an isolated disk against black.
Set a daylight exposure for the lunar surface
Moonlight is reflected sunlight. Although the surrounding sky may be dark, the illuminated surface is bright; settings used for faint nebulae or stars can turn it into a featureless white disk. Deep-sky photography often collects light over long exposures, sometimes with tracking equipment. A bright Moon usually needs a much shorter exposure.
For an uneclipsed, bright Moon, start in manual exposure mode at ISO 100, f/11, and 1/125 second. ISO controls the camera’s sensitivity setting, the f-number describes the lens opening, and shutter speed determines how long light reaches the sensor. This is a starting point for a sunlit disk, not a fixed setting for every phase or atmospheric condition. An eclipsed Moon is much dimmer and needs a different exposure.
Take a test frame and enlarge it on the screen. If bright areas have lost their markings, use a faster shutter speed, such as 1/250 second. If the surface is too dark, try 1/60 second or raise ISO. Make one adjustment at a time so its effect is clear. The camera’s highlight warning, if available, can flag areas recorded as pure white. A histogram shows the distribution of tones, but with so much black sky its large dark peak says little about whether the small disk is properly exposed.
A useful way to learn how to photograph the moon is to make a short bracket: take one frame at the starting exposure, another one stop darker, and one a stop brighter. A stop is a doubling or halving of recorded light. Compare the illuminated surface on a larger screen, looking for texture without muddy shadows or clipped highlights.
Focus and keep the camera steady
Place the camera on a stable tripod, particularly with a long lens. Use a two-second timer or remote release to avoid shaking it as the shutter opens. Follow the lens or camera maker’s guidance on image stabilization when using a tripod; behavior varies by equipment. The Moon moves across the frame, so recheck the composition during a long session.
To capture a sharp lunar photograph, enlarge the live view and aim at a high-contrast edge or a crater near the light–dark boundary. Autofocus may work on the lunar edge; manual focus gives more control if the lens hunts. Turn the focus ring slowly until the detail is sharpest, take a frame, and inspect it at full magnification. The infinity mark on a lens is a useful starting position, but checking the image is more reliable than assuming the mark is exact.
When photographing the Moon for detail, shimmering that changes between frames may come from the atmosphere. Take several photographs and keep the sharpest. Heat rising from a roof or pavement can disturb the view, so repositioning away from a nearby warm surface may help.
Balance the foreground or use a phone
At night, an exposure that preserves the Moon can leave the landscape nearly black. That can make an effective silhouette. For detail in both, shoot during twilight or take separate exposures from a locked tripod: one for the Moon and one for the foreground. Blend them later if the intended image allows it, and disclose the composite where accuracy matters.
A phone offers another way to photograph our Moon, even if its small lens cannot resolve the disk like a long camera lens. Tap the Moon to set focus and exposure, then lower the screen’s exposure control until surface shading appears. Brace the phone or use a small tripod and timer. Its optical telephoto camera, if it has one, can give a tighter view; heavy digital zoom mostly enlarges a crop.
Among the most practical moon photography tips is to review the actual file, not just the small preview. Before the next clear evening, check the local moonrise time, choose one foreground landmark, and save the starting exposure settings for a test frame.