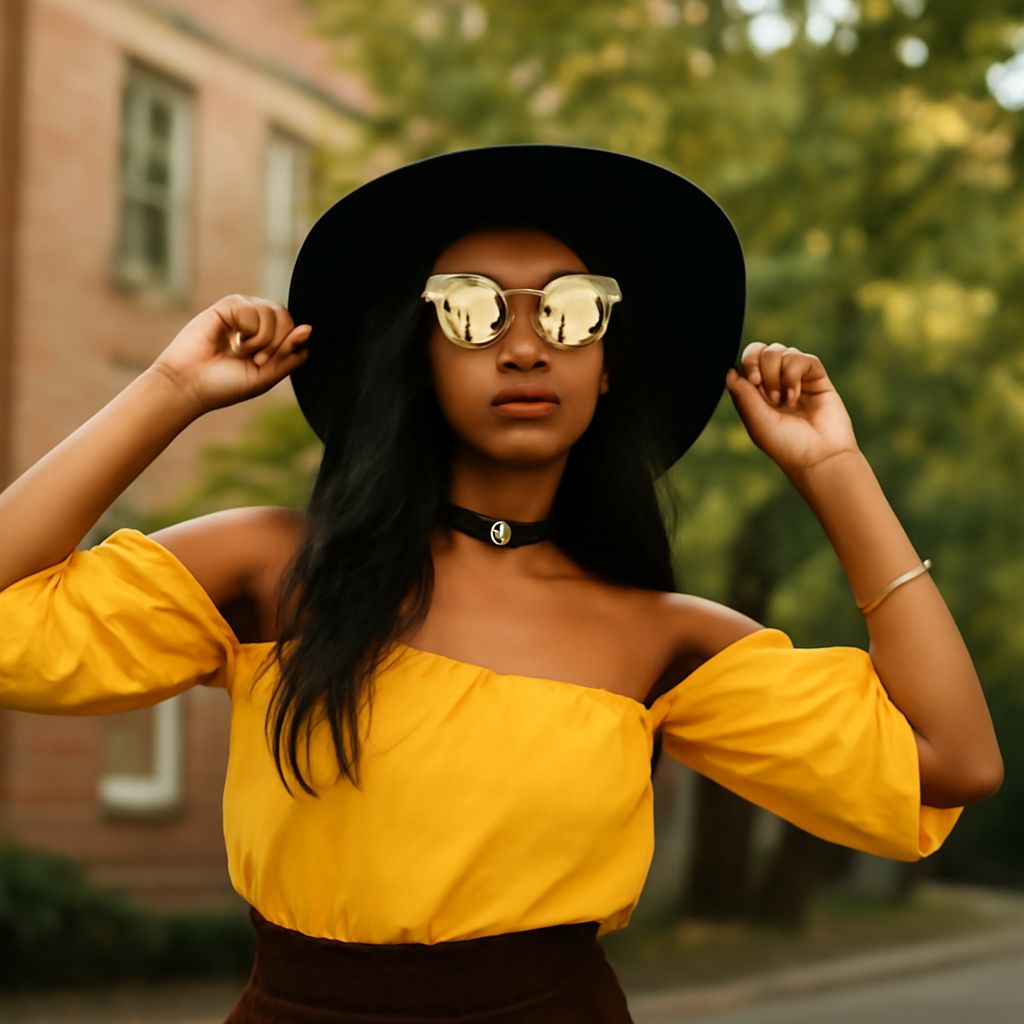
How can a new setting look as though it belongs behind the person or object in a photograph? The answer begins with a compatible scene, a careful edge, and light that appears to come from the same direction. Replacing the background of a photo is only the first step; the two images must also share a convincing sense of space.
A tool that changes backgrounds can make an initial selection in seconds. The more revealing work comes afterward, when a pale fringe around hair, a misplaced shadow, or a horizon at the wrong height shows where the pieces meet. A composite is an image made by combining elements from separate sources, and its success often rests on these small relationships.
Background changer tools and a practical workflow
A background changer may be a browser service, a phone app, or a desktop editor. Automatic tools are convenient for a clear subject against a simple backdrop. An editor with layers and masks offers more control when the subject includes hair, glass, or other difficult edges. A layer holds an image element separately; a mask controls which parts of that layer are visible without erasing the underlying pixels.
To change the background in a photo with a layered editor, start with copies of both images and follow this sequence:
- Open the subject image and select the person or object. Automatic subject selection can provide a starting outline.
- Turn the selection into a mask. Place the new scene on a layer beneath the subject.
- Resize and position the subject, keeping its proportions intact. Align the viewpoint and any visible ground plane.
- Refine the mask, then adjust brightness, color, and shadows to suit the new setting.
- Save an editable layered copy and export a separate JPEG or PNG for the intended use.
In Photoshop, for example, Adobe describes using object selection and Select and Mask to isolate an element on a masked layer. Other editors use different names, but the same logic applies: keep the source, separate the subject, and make the edge adjustable.
Choose a scene that fits the subject
Before deciding how to change the background of a picture, look at the original light and camera angle. A portrait lit softly from a window will usually be easier to place in a softly lit room than under a harsh midday sun. A product photographed from above needs a surface seen from a similar angle. No amount of color adjustment fully resolves a view from above pasted into a scene viewed at eye level.
Compare the apparent height of the camera in both images. A horizon near a standing person’s waist implies a different viewpoint from one near the person’s eyes. Lines in walls, floors, and tables also give clues: their direction should make sense around the inserted subject. A crop can help; a severely mismatched scene is better replaced.
Choose a background with enough resolution for the final output. Enlarging a very small scene can make it visibly softer than the subject. Also consider the intended use and whether both source images can be used for it. When ready to change the background of a photo online, check the service’s file limits and treatment of uploaded images, especially for private portraits or client work.
Refine edges without cutting away the subject
An automatic selection often follows a coat or a clean outline well, then struggles with loose hair, translucent fabric, or gaps between fingers. View the mask against both a light and a dark temporary background. A bright outline may be a remnant of the original scene; a dark notch may show that the selection removed part of the subject.
Use a small brush on the mask to restore missing areas or hide unwanted ones. At fine hair, a dedicated edge-refinement tool can help separate strands from the old backdrop. Avoid applying a heavy blur to the entire outline: a hard-edged jacket and soft flyaway hair need different treatment. Zoom in to repair the edge, then zoom out to see whether it still looks natural at normal viewing size.
Transparent objects need particular care. A drinking glass reveals and distorts what lies behind it; cutting it out as an opaque shape can leave traces of the old room. A partly transparent mask or a different source may help. If the original background color still spills onto an edge, reduce that tint locally without painting away the texture.
Set scale, perspective, and contact
A person placed on a sidewalk needs feet that meet the same ground plane as the rest of the scene. Compare the subject with doors, furniture, or people already in the background. A chair that reaches an adult’s shoulder is a clue that the relative scale or placement needs adjustment. Keep proportions locked when resizing so faces and objects do not stretch.
The contact point matters just as much as size. A cup on a table or a shoe on pavement needs a small, darker contact shadow where the surfaces meet. Add a separate shadow layer beneath the subject, then shape and soften it to match shadows already in the scene. Shadows generally become softer farther from the object; observe the existing image before choosing their direction and strength.
When a scene is close but still feels wrong, change the background image rather than forcing the subject into an incompatible perspective. A different photograph made from a similar height can save extensive correction. If several alternatives are available, change the background picture one at a time and compare the subject’s apparent position in each.
Match light and check the export
Look for the brightest side of the subject and compare it with the lighting on nearby objects. If sunlight falls from the left in the background but illuminates the subject from the right, choose another scene or adjust the composition. Mirroring an image can help in some cases, although visible text and asymmetrical details may make that inappropriate.
Next compare brightness, contrast, and color temperature. A warm sunset may make a cool blue portrait look separate; a restrained warming adjustment to the subject can bring them closer. Editors may offer separate brightness and color controls or a matching command. Apply adjustments gradually and preserve believable skin and material colors.
A browser tool can change a photo background online quickly, but the saved file deserves a final inspection. Open the export at its intended display size and at 100% magnification. Check the outline, the ground contact, the direction of shadows, and whether both images have similar sharpness. If a subject seems to float, add or reshape its contact shadow; if a bright halo remains around hair, return to the mask and remove the old edge color before exporting again.