Delve into the world of night photography and unlock the potential to capture the hidden beauty of the night. With the right camera settings for night photography, you can achieve breathtaking images that reveal the magic of the dark. Whether you’re aiming for urban nightscapes or celestial wonders, mastering these techniques will elevate your photography skills.
Embrace night sky photography settings to frame the stars in all their glory. Discover tips from seasoned photographers like Scrub Killa, and you’ll be on your way to perfecting your shots. Prepare yourself to explore the tranquility and vibrancy of the night with confidence and creativity.
Essential Night Photography Settings
ISO and Aperture
Understanding the interplay between ISO and aperture is crucial for night photography. A higher ISO helps to capture more light, but be cautious as it can introduce noise. Start with an ISO between 800 and 1600 for best results. For the aperture, a wider opening, such as f/2.8, allows more light to hit the sensor, making it ideal for low light conditions.
Experiment with different combinations to find the sweet spot for your night shots. You may prefer using an ISO of 800 combined with an aperture of f/4 for balanced exposure without too much noise.
Shutter Speed
Shutter speed determines how long the camera’s sensor is exposed to light. For night photography, you’ll need longer exposures. Start with a shutter speed of 10 to 30 seconds. This allows enough light to create clear and sharp images while capturing movement like star trails or car lights.
Remember to use a tripod to stabilize the camera and avoid blurry images. Adjust your shutter speed depending on the subject and ambient light available.
White Balance
White balance settings can dramatically affect the tone of your night photos. Experiment with different settings, such as tungsten or custom white balance, to find the mood that suits your scene. A cooler tone can enhance the ethereal quality of nightscapes.
Manually adjusting your white balance allows for more control and creativity. Test various settings to see what showcases the night in its best light.
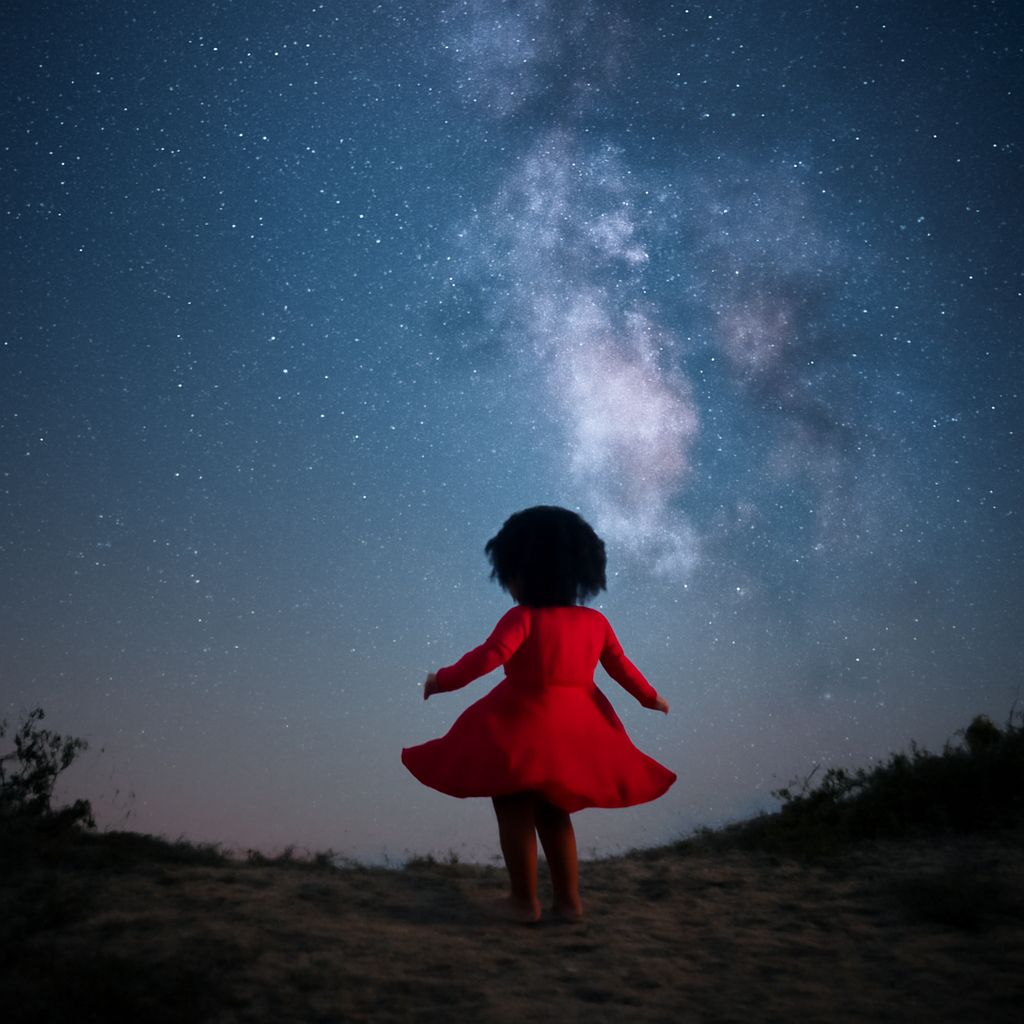
Camera Settings for Night Sky Photography
Astrophotography Tips
For night sky photography settings, focusing on the stars is key. Use manual focus and set your lens to infinity. Consider using a wide-angle lens to capture more of the sky. A shutter speed of about 15 to 25 seconds works well to avoid star trails.
Keep your ISO at around 1600 and use an aperture of f/2.8 for optimal light capture. A sturdy tripod is essential to prevent any camera shake during these long exposures.
Choosing the Right Lens
Choosing the right lens is crucial for astrophotography. A lens with a wide aperture, such as f/1.8 or f/2.8, is ideal for letting in more light. Prime lenses are often preferred for their superior sharpness and clarity.
Consider the focal length; wide-angle lenses, like 14mm or 24mm, are perfect for capturing expansive night skies and landscapes.
Pro Tips from Scrub Killa
Advanced Techniques
Scrub Killa, a renowned photographer, shares advanced techniques for night photography. One essential tip is to use bracketing to capture multiple exposures of the same scene. This technique allows for greater detail in post-processing.
Experiment with light painting by using a flashlight or other light sources to add creative elements to your shots.
Gear Recommendations
Investing in quality gear is important for night photography. Scrub Killa recommends using a sturdy tripod and a remote shutter release to eliminate vibrations. A lens hood can also help reduce unwanted lens flare.
Consider using a star tracker for astrophotography. This device compensates for the Earth’s rotation, allowing longer exposures of the night sky without star trails.