Sunrise Photos and How to Fix Grainy Photos From Low-Light Shoots
Sunrise photos test your camera and your patience in equal measure. The light changes every 90 seconds, the exposure demands are extreme, and high ISO settings introduce the grain that ruins otherwise stunning images. Understanding why are my photos grainy at dawn gives you the tools to prevent it in the field and fix grainy photos that do slip through. Grainy photos from a sunrise session don’t have to go in the trash.
This guide covers the shooting side: how to capture sunrise photos with minimal noise. It then covers how to fix grainy photos in post when prevention wasn’t enough.
Why Sunrise Photos Come Out Grainy
The core reason why are my photos grainy at sunrise is ISO. When light is low, your camera compensates by amplifying the signal from the sensor. That amplification also amplifies noise. An ISO of 3200 or higher on a crop-sensor camera produces visible grain in shadow areas, which is exactly where sunrise photos have the most shadow.
Grainy photos from sunrise sessions are most common in the 30 minutes before the sun actually clears the horizon. After the sun rises 5 to 10 degrees above the horizon, light levels increase dramatically and you can drop ISO to 400 or below. Patience during this window pays off.
Settings That Minimize Grain at Sunrise
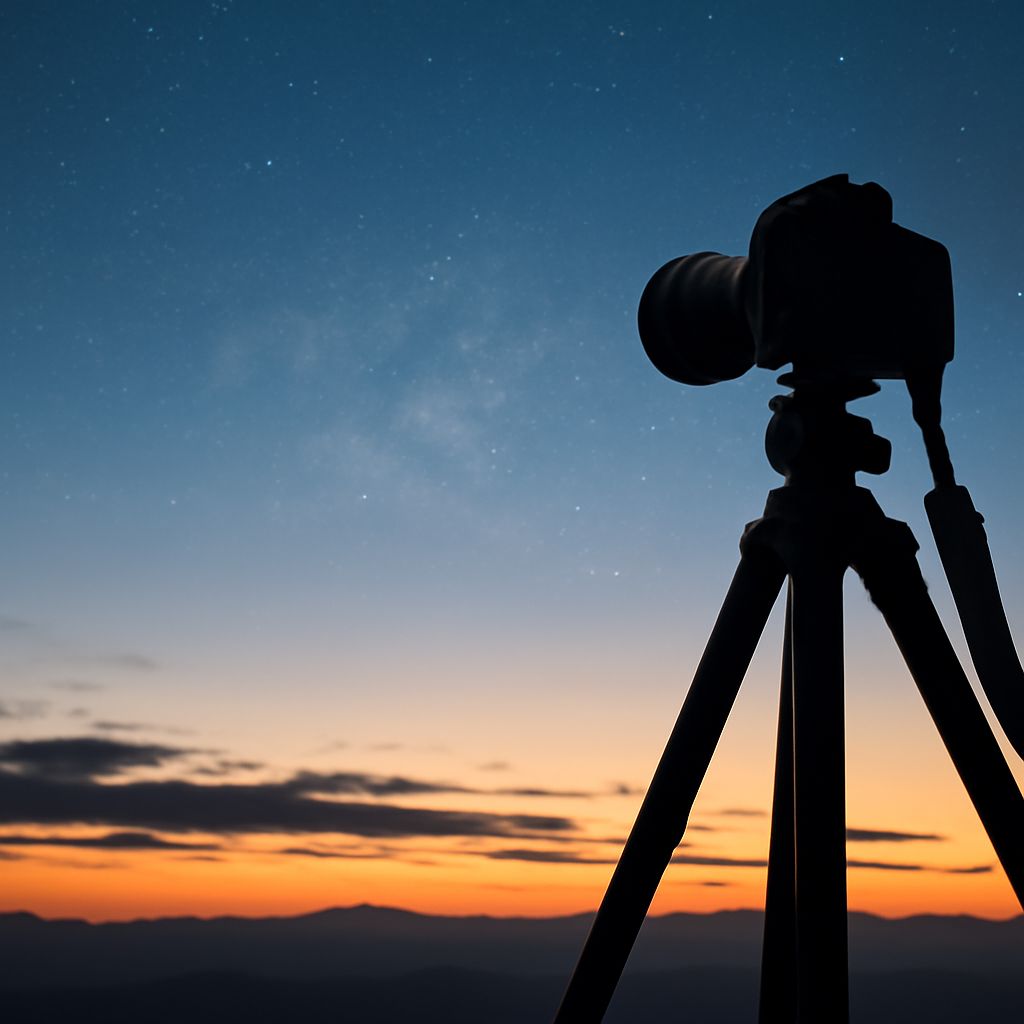
Use a tripod and shoot at base ISO (100 to 200) with a long exposure rather than raising ISO to hand-hold. A 1/4 second to 2 second exposure at f/8 gathers the same amount of light as ISO 3200 at 1/1000 second, but produces dramatically cleaner sunrise photos with no grain in shadows.
Shoot in RAW format. RAW files preserve detail in shadow and highlight areas that JPEG compression discards. When you fix grainy photos in Lightroom or Capture One, the RAW file gives the noise reduction algorithm far more data to work with than a compressed JPEG.
How to Fix Grainy Photos in Post
The fastest way to fix grainy photos is Lightroom’s Detail panel. Set Luminance Noise Reduction to 40 to 60 as a starting point, then adjust Luminance Detail and Contrast to preserve texture. Apply the correction only to shadow areas using a Luminance Range mask so you don’t soften sharp midtone detail unnecessarily.
For grainy photos that need more aggressive treatment, Topaz DeNoise AI and DxO PhotoLab’s PRIME noise reduction outperform Lightroom’s built-in tools. Both use machine learning to separate noise from fine detail. Topaz processes files in 30 to 90 seconds depending on your hardware. The results on high-ISO sunrise photos are routinely 40 to 60% cleaner than Lightroom alone.
Prevention Is Still Better Than Fixing
Even the best noise reduction softens fine detail slightly. Sunrise photos captured at ISO 400 or below will always look sharper than ISO 3200 photos that have been cleaned up. Arrive early, set up your tripod, and lock in your composition before the light starts to change.
Check your histogram after every 3 to 4 shots. If your shadows are to the left edge of the histogram, you’re underexposing, which means you’ll amplify noise during editing when you lift the shadows. Expose to the right (ETTR) by slightly overexposing so shadow data sits away from the noisy left edge. This is the single most effective technique for sunrise photos that need minimal noise correction later.