Photography Lighting Basics Every Shooter Should Know
Photography lighting basics separate snapshots from intentional images. Light direction, quality, and color temperature all shape how a subject looks on screen. Once you understand these three variables, you can control almost any lighting situation — whether you’re shooting indoors, outside at noon, or in low-visibility conditions with the best night camera setup you can build.
This guide covers camera basics related to light and exposure, common gear questions like which first dslr camera to start with, and whether the smallest dslr camera can still handle serious lighting scenarios. Short answer: yes.
Core Photography Lighting Basics
Direction and Quality of Light
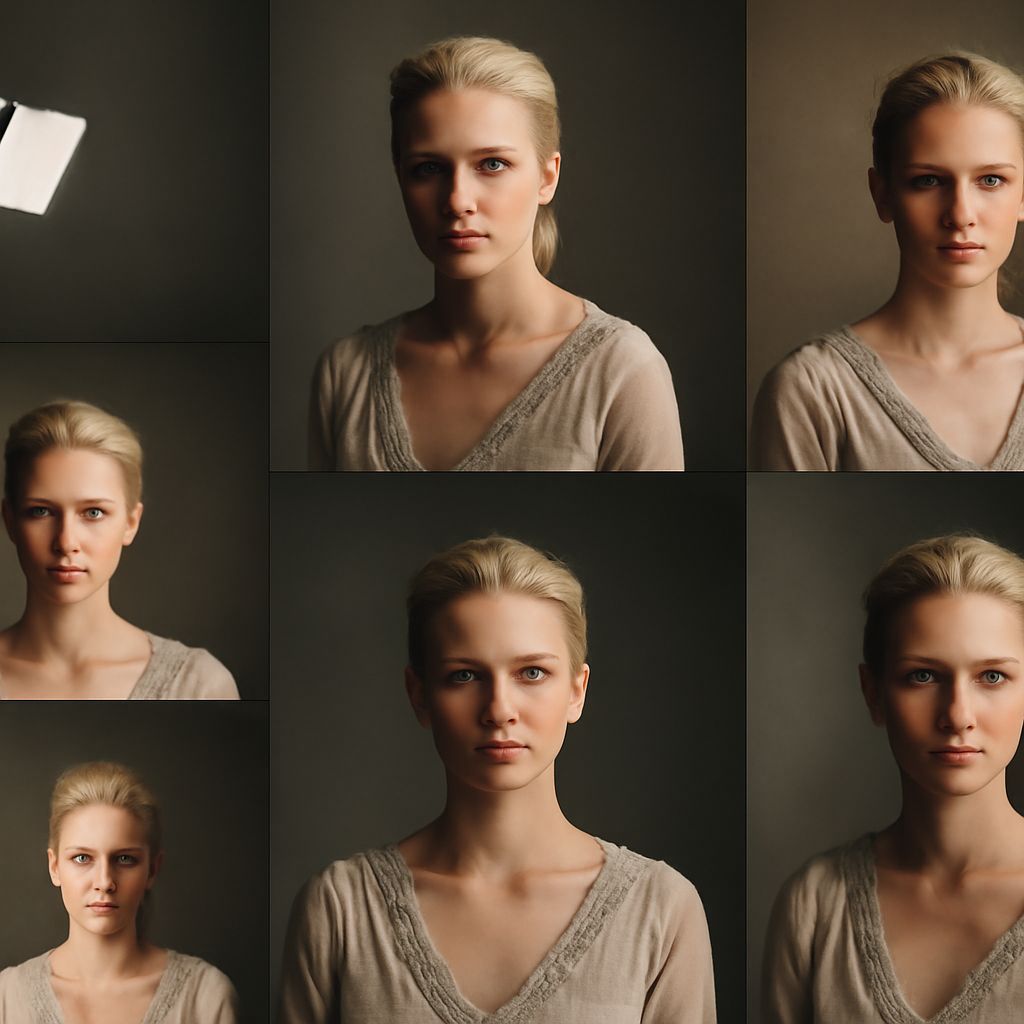
Photography lighting basics start with direction. Front lighting flattens a subject. Side lighting (45–90 degrees off-axis) adds depth and texture. Backlighting creates silhouettes or rim light, depending on exposure settings. Practice by placing a single desk lamp at different angles to a subject and watching how the shadows shift.
Light quality refers to how hard or soft the source is. A small bare bulb casts harsh shadows with defined edges. A large softbox or a window with a white curtain spreads light more evenly, wrapping shadows softly. For portraits, softer light works in most situations. For texture-heavy subjects like brick or fabric, harder light brings out surface detail.
Color Temperature and White Balance
Daylight measures around 5500–6500K. Tungsten bulbs are closer to 3200K and cast a warm orange tone. Your camera’s auto white balance handles most transitions well, but in mixed lighting — like a room with one window and one tungsten lamp — it will struggle. Set a custom white balance by photographing a gray card under your main light source.
Camera Basics for Understanding Exposure
The exposure triangle links aperture, shutter speed, and ISO. Aperture controls depth of field (f/1.8 gives shallow focus, f/11 gives broad sharpness). Shutter speed freezes or blurs motion. ISO amplifies the sensor’s sensitivity to light, but higher values introduce grain after ISO 3200 on most cameras.
Camera basics like these apply whether you shoot with a flagship body or a beginner kit. If you’re buying your first dslr camera, look for one with a large APS-C sensor and a kit 18-55mm lens. The Canon Rebel series and Nikon D3500 are both solid starting points under $500 used.
Low-Light Shooting and Choosing the Best Night Camera
For low-light and nighttime work, sensor size matters more than megapixel count. Full-frame cameras handle high ISO values better than crop sensors, but the best night camera for most budgets is actually a mirrorless body with a fast prime lens — f/1.4 or f/1.8 — rather than the most expensive DSLR available.
The smallest dslr camera category includes bodies like the Canon SL3 and Nikon D3500. Both are compact enough to carry daily and perform well at ISO 3200–6400 with minimal noise reduction in post. If you want a first dslr camera that also handles night shooting without adding a separate body later, either of these fits that dual role.
Key takeaways: Understand direction and quality before worrying about gear. A fast 50mm prime on a crop-sensor body beats a slow kit lens on a full-frame camera in low light. Start with the smallest dslr camera that fits your budget and learn its limits — then decide what to upgrade.