Product Photography Setup: Equipment, DIY and Outdoor Techniques
A solid product photography setup produces images that sell. Sharp, well-lit product photos reduce return rates, increase click-through on ads, and give buyers the confidence to purchase without handling the item in person. You don’t need a professional studio to get there. A well-planned diy product photography setup in a spare room or garage can produce commercial-quality images with the right lighting, background, and camera position.
Whether you’re building a full product photography equipment list, looking for outdoor product photography techniques, or exploring product photography diy approaches that keep costs under $300, the fundamentals are the same. Control your light, stabilize your camera, and keep your background clean.
Core Product Photography Equipment
A functional product photography setup requires five things: a camera (even a recent smartphone works for small e-commerce), a tripod, at least two light sources, diffusion material, and a background. Professional product photography equipment adds a light tent or infinity curve, a tethered shooting cable, a color checker card, and a calibrated monitor for accurate color. Start with the basics and add as your volume justifies the investment.
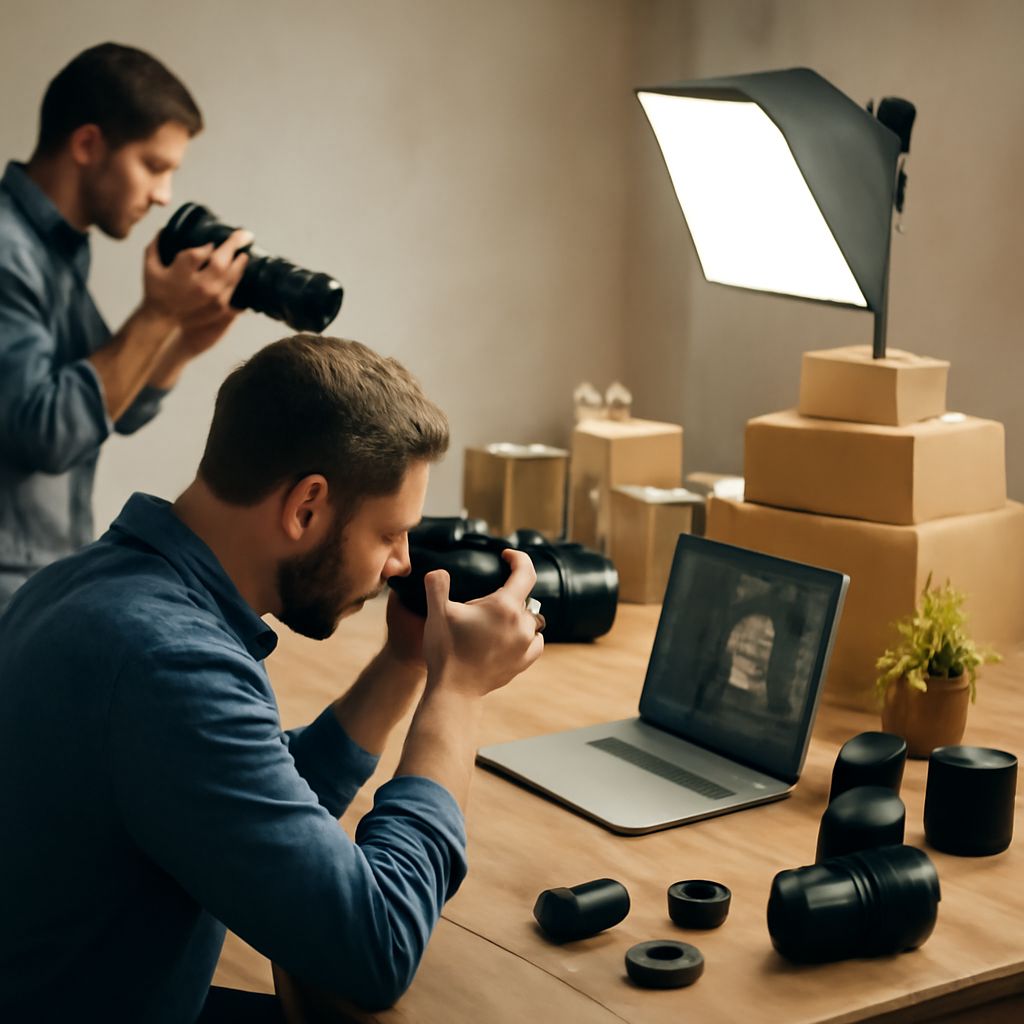
For lighting, two 60-watt-equivalent LED panels with daylight color temperature (5500K) create an even, soft source that doesn’t cast hard shadows across reflective surfaces. Position one panel at 45 degrees to the left of the product and slightly above it — this is your key light. Place a white foam board or V-flat on the right side to bounce light back and fill the shadow. No second light required at this stage.
Setting Up for Reflective and Transparent Products
Reflective products — jewelry, electronics, metal housings — need a light tent or seamless wrap setup. Any point light source will appear as a hotspot on polished metal or glass. A light tent diffuses the source across all sides simultaneously and eliminates direct reflections. For transparent products like bottles or glassware, backlit product photography diy setups work better. Place your light source behind a diffusion panel behind the product so light transmits through the subject rather than reflecting off it.
DIY Product Photography on a Budget
Diy product photography starts with what you likely already own. A smartphone camera with manual control or a portrait mode that blurs backgrounds, a window with indirect north-facing light, and a white foam board background are enough to start. Shoot within the first two hours after sunrise or the last two before sunset when outdoor light enters at a low angle — this is the best natural light window for diy product photography because it’s soft, directional, and consistent.
For a dedicated product photography diy studio under $200, add a 2-pack of LED photo panels ($50–$80), a collapsible white/black backdrop stand ($40–$60), and a basic tripod with a ball head ($50–$70). This product photography setup fits on a folding table and stores in a closet. Total investment stays under most professional studio day rates.
Outdoor Product Photography Techniques
Outdoor product photography gives you natural textures and backgrounds unavailable in a studio — wood grain, stone, grass, gravel, water. The challenge is light control. Shoot in open shade rather than direct sun: the area under a tree canopy, on the shaded side of a building, or under an overhang. Direct sunlight creates harsh shadows that bisect the product and make retouching difficult.
Use a collapsible reflector to fill shadow sides when shooting outdoors. A 32-inch silver reflector at a 45-degree angle fills shadow detail without adding a color cast. For outdoor product photography on overcast days, the entire sky acts as a giant softbox — you don’t need additional fill and your light is consistent for 3 to 4 hours around solar noon.
Key takeaways: A product photography setup doesn’t require expensive product photography equipment to produce commercial results. Start with two LED panels, a foam board background, and a tripod. For outdoor product photography, work in open shade. Diy product photography done well with controlled light beats expensive gear in poor light every time.