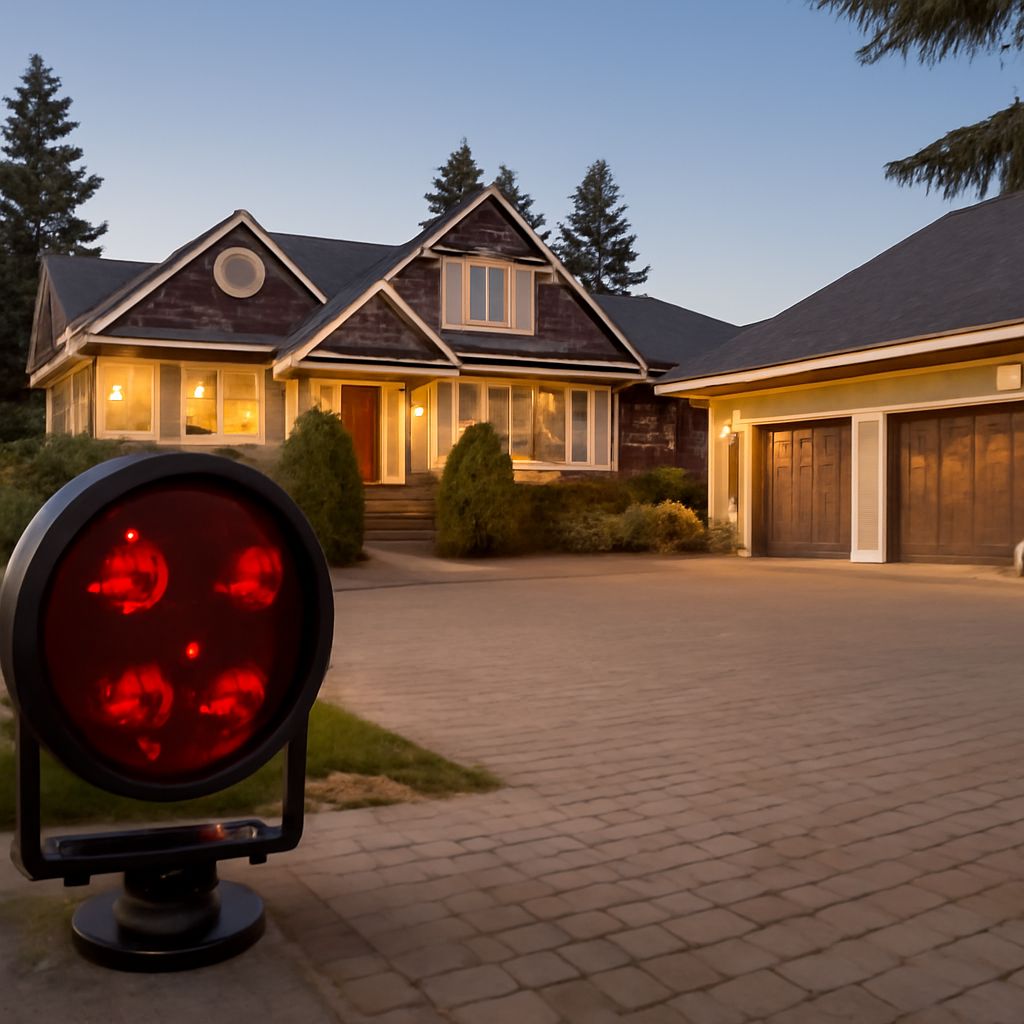
If you want to capture crisp, dramatic images in total darkness, the best IR illuminator can transform your low-light photography. With IR light for camera use, you’ll unlock a world of creative possibilities, from wildlife shots at night to atmospheric urban scenes. Whether you shoot with a DSLR, mirrorless, or security setup, adding the right IR lighting makes a measurable difference in image clarity and detail.
Let’s explore how these invisible light sources can elevate your shots, how to choose the best IR illuminator for your gear, and tips for getting the most from your IR light for camera work.
What Is the Best IR Illuminator?
An IR illuminator is a device that emits infrared light, which is invisible to the human eye but visible to camera sensors that can detect infrared wavelengths. The best IR illuminator for photography provides strong, even coverage without hotspots or excessive spill. It’s especially useful for night photography, wildlife observation, and surveillance where natural light is minimal or absent.
Top-rated IR illuminators use LEDs tuned to 850nm or 940nm, wavelengths your camera sensor can “see” even though you can’t. The right device matches your shooting distance, covers your field of view, and gives you flexibility to adjust the light intensity. For example, a high-quality IR illuminator paired with a full-spectrum camera can reveal textures and details you’d otherwise miss in the dark. You’ll notice the benefit most when shooting beyond 20 feet, where built-in IR on cameras often falls short.
In my experience with both field wildlife photography and controlled studio environments, a good IR light for camera systems consistently delivers sharper, noise-free images at night. Look for models with weather sealing if you plan to shoot outdoors, and always check the beam angle to ensure it fits your lens and framing style.
How IR Light for Camera Works
Understanding how IR light for camera setups function helps you make the most of your gear. Infrared illuminators project invisible light that your camera’s sensor can detect, even in total darkness. When you activate the device, it floods the scene with IR photons, reflecting off objects and back into your lens. This gives your sensor enough light to produce clear, detailed images without visible glare or harsh shadows.
Most IR illuminators operate at either 850nm or 940nm. The 850nm wavelength is brighter and offers better range, but sometimes produces a faint red glow from the LEDs. The 940nm is completely covert but has a slightly reduced reach. For most photography, especially creative long exposures or wildlife, the minor red glow of 850nm is rarely distracting.
You’ll find that different cameras have varying sensitivity to IR light for camera use. Some require full-spectrum modifications, while others, especially security or wildlife cams, are IR-ready out of the box. Always test your camera with your chosen IR illuminator before a critical shoot. Take a few test shots at different distances—5, 15, and 30 feet—to check for even coverage and hotspot issues.
Choosing the Best IR Illuminator
Picking the best IR illuminator depends on your camera type, shooting distance, and environment. Start with your needs: Will you photograph animals at dusk from 50 feet away, or document abandoned spaces within 10 feet? For longer distances, select a model with at least 3W output and a narrow, focused beam. Closer subjects benefit from wider angles and adjustable brightness. Always ensure the IR light for camera compatibility with your sensor sensitivity and mount type.
Durability matters too. For outdoor or wildlife work, pick a weatherproof housing and robust build. Look for adjustable mounts so you can fine-tune the light’s direction. Battery life is also crucial; a high-quality IR illuminator should last for a full night shoot (often 4–8 hours on a single charge, or longer with larger power packs). Brands like T20, CMVision, and Univivi offer reliable models tested in tough conditions.
Before buying, compare reviews and sample images, and check if your IR light for camera setup needs extra accessories like diffusers or external power. Hands-on testing is key: try your illuminator in the actual lighting conditions you’ll shoot in, and check your histogram for exposure balance.
Tips for Using IR Light for Camera
To get the most out of your IR illuminator, start by mounting it securely and aiming it precisely at your subject. Keep the light at a slight angle to reduce direct lens flare, and avoid placing it too close to your lens, which can cause glare or uneven spots in your images. Experiment with the illuminator’s distance and intensity; often, dialing down brightness a notch produces a smoother, more natural look.
Cover wide fields by blending multiple IR light sources, or use a single high-powered unit for focused portraits and close-ups. Adjust your camera’s ISO and exposure time to balance against the IR light for camera use—longer exposures help, but keep noise in check. Always carry extra batteries or a backup power source for longer sessions. Practice with different settings and review your images at 100% zoom to learn how IR affects sharpness and contrast in real-world conditions.
If shadows appear harsh or coverage feels patchy, reposition your IR illuminator or add lightweight diffusers. These tips also apply if you use IR light for camera traps or video work. Familiarity with your gear and regular hands-on adjustments make a visible difference in results, especially when shooting in unpredictable environments.
Bottom line: The best IR illuminator lets you see—and capture—what’s hidden in the dark. With the right IR light for camera setup and hands-on practice, you’ll expand your creative and technical boundaries, revealing details that are invisible to the naked eye.