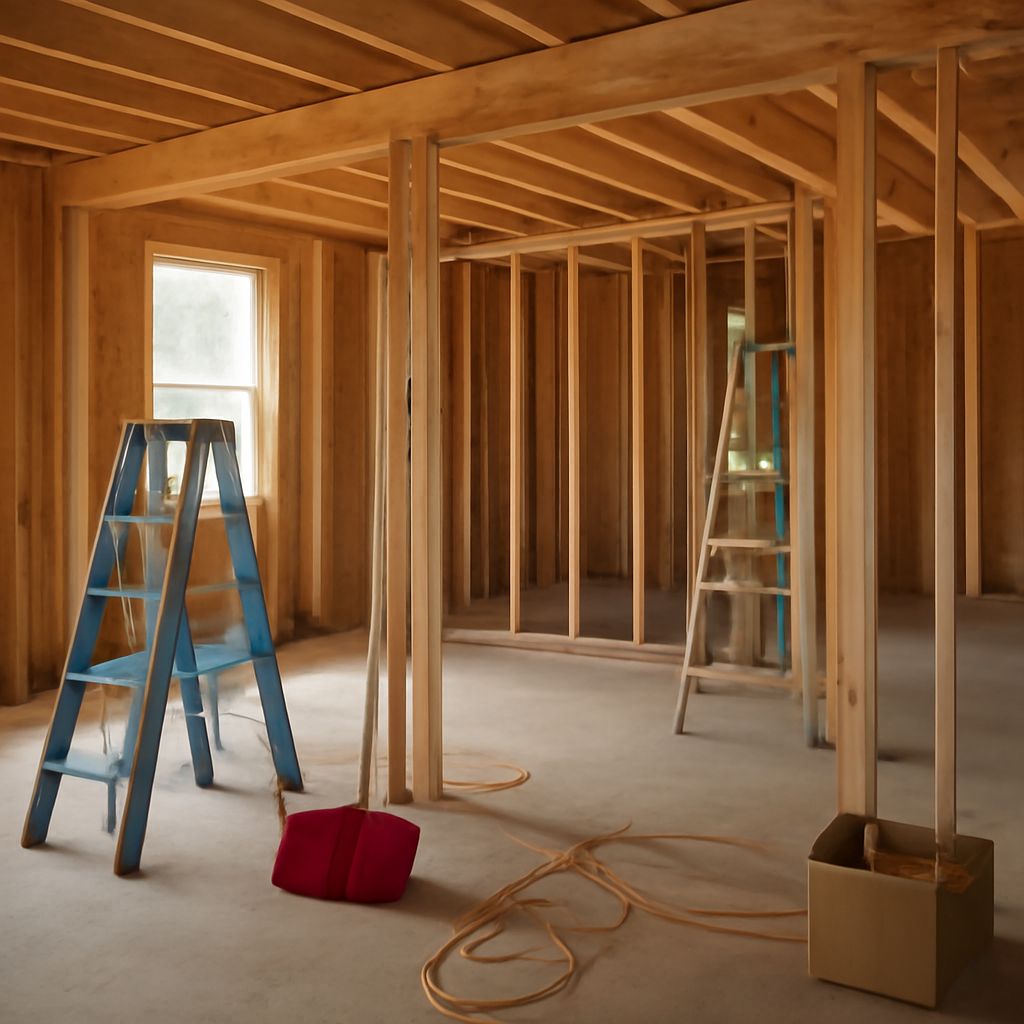
What turns an open room into two defined spaces? A properly supported partition begins with a straight line on the floor and a plan for the doorway. Framing a wall inside a house means connecting vertical studs to horizontal plates, then securing the assembly to suitable support at the floor, ceiling, and adjoining wall. The method for building an interior wall frame also determines where drywall edges, door trim, and fixtures can be fastened.
This example describes a new, non-load-bearing wood partition. It divides space without being designed to carry the floor or roof above. Removing or cutting an existing wall is a different undertaking: its structural role must be established before it is altered.
How to frame an interior wall: plan the line
First establish where both faces of the finished wall will fall. A nominal 2-by-4 is approximately 1½ inches by 3½ inches after dressing, according to the American Wood Council. With ½-inch drywall on both sides, the finished wall is approximately 4½ inches thick before joint compound and finish.
Mark one edge of the bottom plate on the subfloor with a chalk line. Transfer that line to the ceiling using a plumb laser or plumb bob, and mark the wall’s ends. Check the floor-to-ceiling height at several points: an older floor or ceiling may not be level. A measured plan is the first step in framing an interior wall that looks straight after the drywall is finished.
Locate floor framing or a suitable subfloor below, ceiling joists or other approved support above, and solid framing at the wall ends. Drywall alone is not an adequate anchor for the partition. A wall parallel to joists may fall between them and need blocking above. The connection must suit the structure: some non-bearing partitions need lateral restraint while allowing movement of the framing above. WoodWorks explains why deflection clips or other details may be needed in such assemblies. The building’s design determines the connection rather than one universal fastener pattern.
Before work begins, identify concealed wiring, plumbing, and ductwork where fasteners will enter. Local permit, fire-resistance, and sound requirements can affect the assembly, particularly between dwelling units.
Plates, studs, and a measured example
The bottom plate rests along the floor; the top plate runs above it. Studs are the upright pieces between them. As an example, consider an 8-foot-long partition under a measured 96-inch ceiling, using one flat 2-by-4 plate at the top and one at the bottom. Assuming a connection detail that permits this fit, the available stud length is 96 − 1½ − 1½ = 93 inches. Measure the actual height at each position and follow the specified top connection; a deflection detail changes the calculation.
A practical layout uses studs at 16 inches on center: the measurement runs from the center of one stud to the center of the next. For this 96-inch wall, mark centers at 16, 32, 48, 64, and 80 inches from a chosen reference end, then frame the ends and any opening separately. This indoor wall framing layout supports regular panel placement; the selected wallboard, wall height, local requirements, and any fire-rated assembly must be checked for the actual project.
For consistent interior wall framing, transfer marks from one plate to the other while the plates are aligned edge to edge. Mark the side of each line where the stud will sit. Label the doorway before cutting or fastening: the regular spacing is interrupted there, and door framing takes precedence over a stud that would otherwise land in the opening.
Make room for the door
A rough opening is the framed space for a prehung door assembly, including the room needed to set and shim its jamb. Use the actual door manufacturer’s specified width and height; the door slab size alone is not the opening size. As an illustration only, if the selected unit calls for a 34-inch-wide by 82-inch-high opening, mark 34 inches between the inside faces of the two supporting studs and measure the 82-inch height from the specified reference floor.
Each side normally has a full-height king stud and a shorter jack stud beside it. The jack supports a horizontal header above the opening; short cripple studs can fill the space between the header and top plate. For this interior partition framing, the header follows the project detail and door requirements. A load-bearing opening needs a separately designed header and support.
Keep the bottom plate continuous while laying out the frame if that helps maintain alignment, but mark the section across the doorway for removal after the wall is secured. Cut it flush with the opening without damaging the subfloor or concealed services. Check the finished-floor reference: a new floor covering can change the clearance under a door.
Assemble, secure, and add backing
A frame may be assembled flat and raised where there is sufficient clearance. Under a low or irregular ceiling, installing the plates and fitting studs in place can be more practical. Fasten each plate to the intended support using the fastening schedule or hardware specified for the substrate. Wood subfloor and concrete require different attachment methods; concrete also needs attention to moisture and the specified plate material.
Set each stud with its wider face perpendicular to the wall face, so the 3½-inch dimension forms the wall depth. Fit the pieces without forcing the ceiling upward, and fasten the studs to the plates using the project detail. A level checks vertical alignment; a straightedge across the stud faces reveals a twisted or bowed piece before it creates a visible wave in the finished wall.
Framing a new interior partition also means planning what the finished surface must carry. Install solid blocking between studs where cabinet rails, a handrail, or other planned fixtures need backing, and add backing at corners and wall intersections so drywall edges have support. Electrical boxes and wiring should be installed and inspected as required before the cavities are closed.
Check before the drywall arrives
Knowing how to frame an interior wall includes checking the finished assembly. Before covering the frame, confirm that the bottom and top lines align, studs are plumb, and their faces lie in the same plane. Verify the top connection and floor attachment match the chosen detail, and check that fasteners have reached solid support.
Measure the door opening at the top, middle, and bottom, then check its height against the selected door’s instructions and the finished-floor reference. Confirm the opening is square, the doorway plate section is removed, and blocking is present at every planned fixture and drywall edge. These checks are easiest while the frame is still visible.