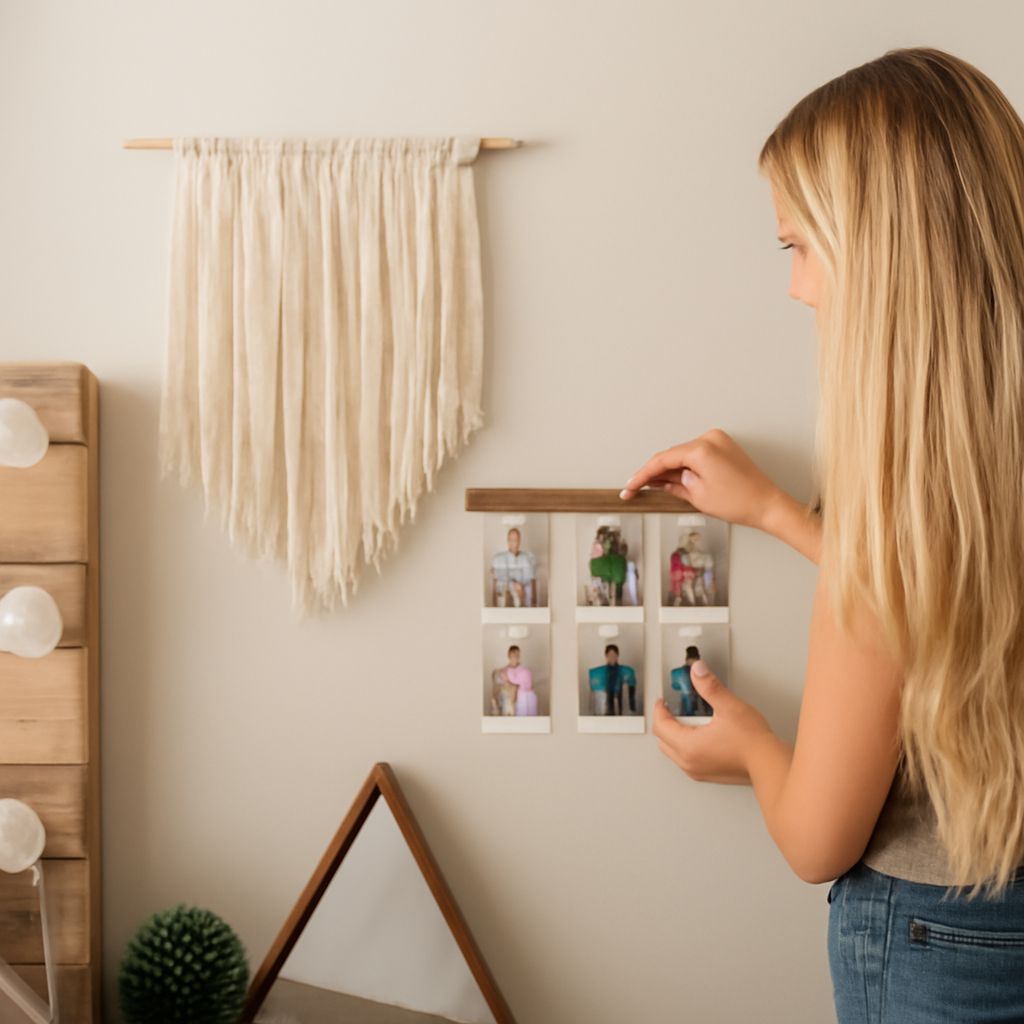
A strip of afternoon light can make a pale wall look warm while leaving the opposite corner in shadow. That difference matters before a single frame is hung. Ideas for decorating a room yourself work best when they begin with the light, the furnishings, and the way the room is actually used.
A coherent room does not need matching everything. It needs a few repeated choices: a color, a material, or a shape that appears in more than one place. The following approach turns that observation into manageable projects, starting with a simple wall arrangement and building outward only when the room needs it.
Read the room before choosing a project
Spend a day noticing where daylight falls and where lamps are needed after dark. A color that looks gentle beside a bright window may feel heavy in a dim corner. Bring paint or fabric samples into the room and look at them in both conditions before committing to a large surface.
Next, photograph the room from its doorway. The picture makes crowded areas and empty stretches easier to compare. Note the finishes already present: a honey-colored wood floor, a black metal lamp, a cream sofa. These are part of the palette, even if they were not bought together. Choose two or three colors from those existing elements and one accent color; repeat them in small amounts instead of introducing a new scheme with every project.
Measure the wall, furniture, and clear walking routes. A decoration can be beautiful on its own and still interfere with a door or make a tabletop difficult to use. Leave everyday objects a practical home, and keep frequently used surfaces easy to clear.
DIY Room Decor Ideas: Choose a starting point
The best first project solves a visible problem. A blank wall above a sofa may need a group of pictures; a room full of hard edges may benefit from a fabric panel or pillow covers. If the room is already crowded, edit and rearrange before adding anything.
Among diy room decor ideas, a small picture arrangement is a useful first test because paper templates can be moved without making holes. A fabric update comes next when the room needs softness. A painted tray or plant pot can carry the same palette onto a shelf or table. Each addition can be judged before the next begins.
Make a picture grouping that fits the wall
Gather three to five frames, a pencil, painter’s tape, scrap paper, scissors, a level, and hanging hardware appropriate to the wall and frame weight. Prints, personal photographs, or a piece of patterned paper can provide the images. A shared finish or image color can tie different frame sizes together.
Cut paper templates to the dimensions of the frames and tape them to the wall. Above a sofa or console, arrange the group so it relates to the furniture below rather than floating across the entire wall. Leave a consistent gap between pieces; about 2 to 3 inches is a practical starting point. Adjust the templates until the overall shape looks balanced from the doorway and from the seat where the wall will be viewed most often.
Mark the hanger position through each template, check the hardware instructions, and hang the frames. The center of a standalone grouping is often placed around eye level, but furniture height and viewing position matter more than an exact rule. For diy room decor projects, this paper-first method keeps the design flexible until the arrangement feels right.
Add a fabric accent without sewing
A removable fabric panel can soften a wall or introduce a pattern without covering the room. Gather a lightweight canvas or a thin board with smooth edges, fabric, scissors, and a staple gun. Choose a fabric color already present in the room; a small pattern is easier to combine with photographs and other details than several competing large prints.
Cut the fabric with several inches of excess on every side. Lay it face down, center the panel on top, and pull the fabric snugly around the back. Staple the middle of each side first, then work toward the corners, alternating sides to keep the front smooth. Fold the corners neatly and trim excess fabric. Use suitable hanging hardware and check that the backing is strong enough to support it.
This is one way to make cute diy room decor feel intentional: repeat a shade from the picture grouping or the upholstery. If the fabric is patterned, give it some clear space nearby so the design can be seen. A single panel above a reading chair can be more effective than several small pieces scattered around the room.
Give a useful object a new finish
A tray gathers remote controls, coasters, or small books into one visual unit. To refresh a plain wooden tray, use fine-grit sandpaper, a clean cloth, primer if the paint label calls for it, a brush, and paint suited to the surface. Lightly sand the finish, remove the dust, and apply thin coats according to the product directions, allowing each coat to dry fully. Work with ventilation as directed on the label.
Choose a color that appears elsewhere in the room, then place the tray where its contents are convenient to reach. If the surface will see spills or heavy use, select a compatible protective finish and follow its curing instructions before loading the tray. Keep food off painted surfaces unless the chosen products are explicitly suitable for direct food contact.
Small room decor diys can also be practical: a coordinated container on an entry table gives keys a predictable place. For cute handmade room decorations, a simple painted border can add personality without obscuring the object’s purpose.
Edit the room as the projects accumulate
After each addition, step back and look again from the doorway. Notice whether the new piece draws attention away from a feature worth keeping, blocks useful light, or makes a surface harder to use. Move objects around before deciding that another purchase or project is necessary.
A restrained palette allows DIY decorating ideas for a room to develop over time. Repeating the wood tone of a shelf, for example, can connect a frame to a tray even when their shapes differ. Variation in texture keeps the result from feeling flat: smooth glass beside woven fabric and painted wood offers contrast without requiring more colors.
Keep a small sample of the chosen fabric and a note of paint colors with the room measurements. When a later idea appears, compare it with those references and the photograph. If it serves a clear need and relates to at least one existing element, it is more likely to belong. To begin, photograph the room from the doorway and mark the one area that would benefit most from a change.