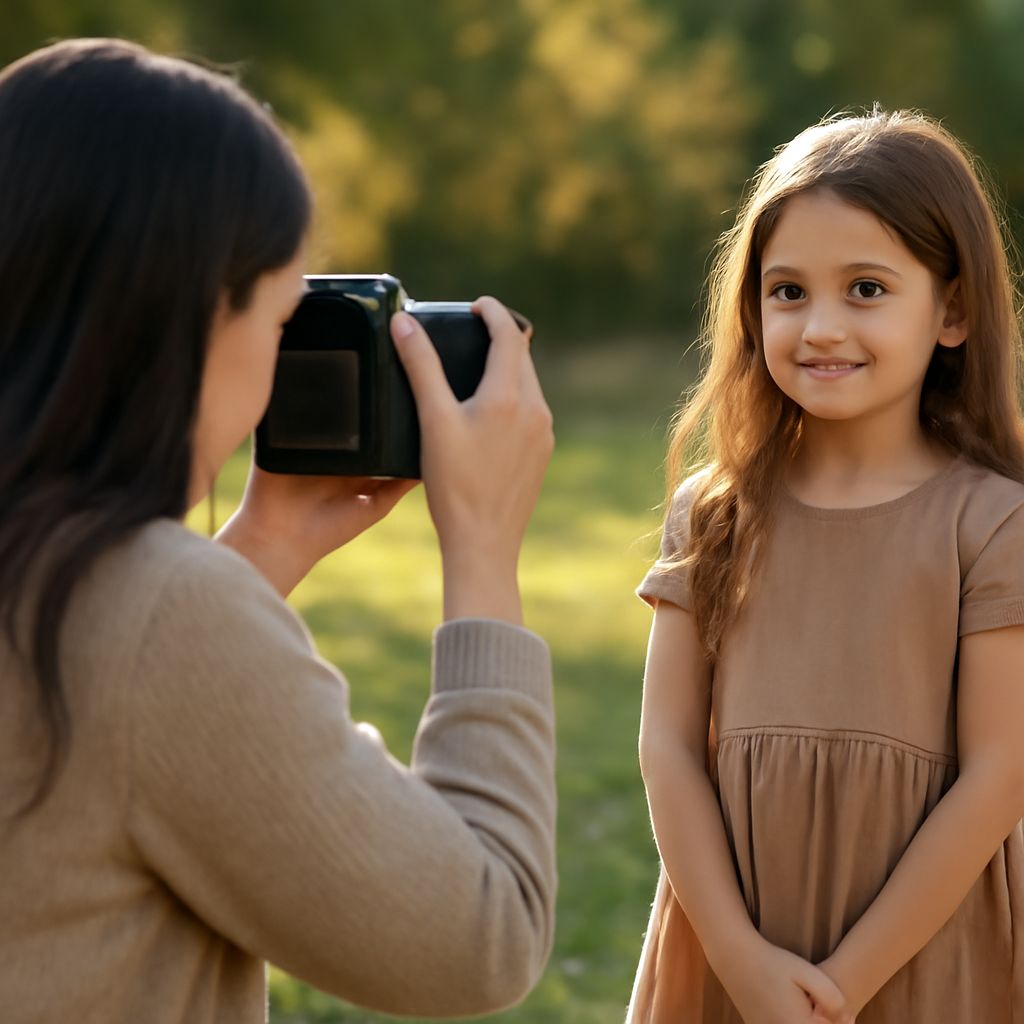
Imagine capturing the perfect outdoor portrait where each element works harmoniously to enhance your subject’s natural beauty. By mastering the best camera settings for outdoor portraits, you can significantly elevate your photography skills. Whether you’re a beginner or a seasoned photographer, knowing the right techniques and settings will transform your outdoor portrait photography experience.
Understanding how to balance natural light, set your camera’s ISO, aperture, and shutter speed, and adjust the white balance can make a substantial difference. Let’s explore how you can improve your shots and create stunning portraits with ease.
Understanding Outdoor Portrait Photography
Choosing the Right Location
The location you choose plays a pivotal role in outdoor portrait photography. A dynamic backdrop can add depth and context to your images. Parks, urban environments, or natural landscapes each offer unique opportunities. Spend time scouting various locations, considering how they complement your subject and the story you wish to tell.
Lighting Considerations
Lighting is a critical component of any photograph. In outdoor settings, natural light can be your best friend or your worst enemy. Golden hour, the time shortly after sunrise or before sunset, provides soft, diffused lighting that’s ideal for capturing warm and flattering portraits. Be mindful of harsh midday sun, which can create unflattering shadows and highlights.
Optimal Camera Settings for Outdoor Portraits
ISO, Aperture, and Shutter Speed
Selecting the best camera settings for outdoor portraits involves balancing ISO, aperture, and shutter speed. Start with a low ISO setting like 100 or 200 to minimize noise. Set your aperture wide (e.g., f/2.8) for a shallow depth of field, which beautifully blurs the background, making your subject stand out. Adjust your shutter speed to match the lighting conditions; a faster shutter speed will help avoid motion blur.
Experiment with these settings to achieve the desired effect. Remember, the best camera settings for outdoor portraits are those that suit the specific lighting and artistic vision you have in mind.
Adjusting White Balance
Proper white balance is essential for accurate color representation. Outdoor lighting can vary dramatically, so use your camera’s white balance settings to match the environment. Auto white balance is a good starting point, but for more control, switch to presets like Daylight or Cloudy, depending on your shooting conditions.
Adjusting white balance manually can further refine your portraits. Take test shots to see how these changes affect the tones in your images, ensuring skin tones are natural and pleasing.
Outdoor Portrait Photography Tips
Using Natural Light
Leveraging natural light effectively is fundamental in outdoor photography. Avoid direct sunlight that can create harsh shadows; instead, seek shaded areas or use diffusers to soften the light. Reflectors can also help bounce light back onto your subject, filling in shadows and adding a catchlight to their eyes.
Practice using natural reflectors like bright walls or sandy surfaces, which can add a subtle glow to your portraits. Understanding how to work with available light will enhance your outdoor portrait photography sessions.
Posing Techniques
Posing is an art that requires both skill and subtlety. Guide your subjects to adopt poses that feel natural and relaxed. Encourage them to move slightly between shots, capturing candid moments that reveal personality and emotion. Pay attention to hands and posture, as these can significantly impact the overall feel of the portrait.
Experiment with angles and perspectives to discover what flatters your subject best. Remember, confidence in your direction will translate into more engaging and authentic portraits.